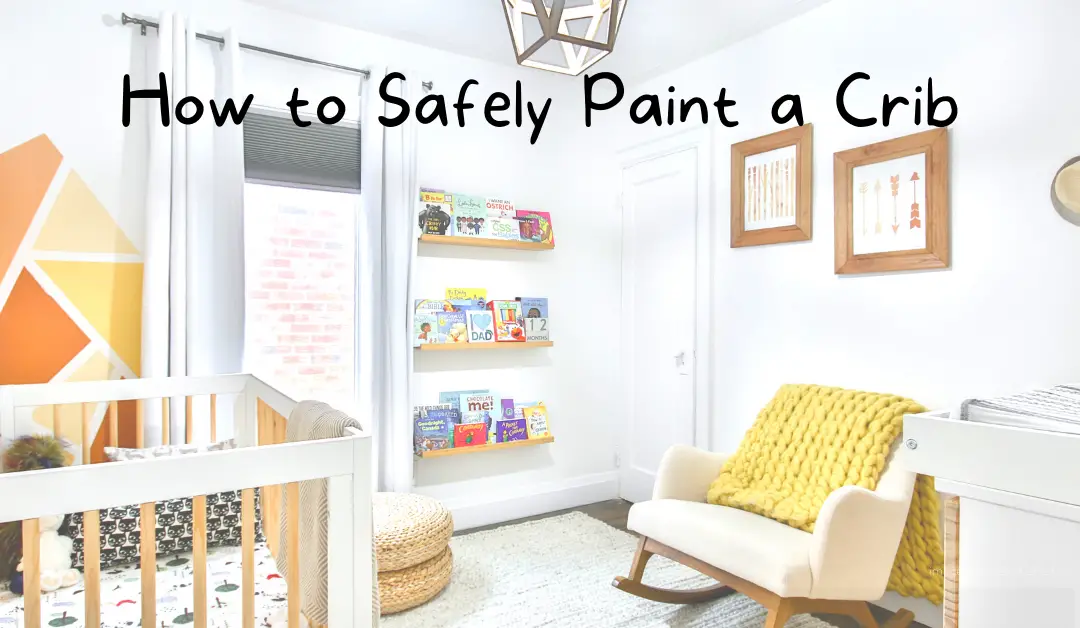
Perhaps you’re reusing a crib from a previous baby or you’ve been gifted a used one from a close friend and it’s in need of some rejuvenation or maybe you’re just looking to customize the plain crib you just picked up from IKEA? What ever the reason, you want to know how to Safely Paint a Crib.
You probably have the same burning questions many parents find themselves with in this situation…
“Where do I even start?” or “How do I make sure it’s safe for my baby!?”
Well, we’re here to help! In this article we’re going to highlight what to look for in paints to ensure they’ll be safe for your baby, teach you how to safely paint a crib step-by-step so you’ll be ready to take it on and maybe even find it a relaxing and enjoyable experience. At the end we’ve even made a Pinterest board of custom crib inspiration and a color palette to get your creative baby room ideas flowing!
Table of Contents
Baby Safe paints for the job
First up, we’re going to run you through baby safe paint so you know what to look for while trying to find paint for cribs or other furniture.
The most important thing to keep in mind when looking for baby safe paint is to ensure it is marked as Non-Toxic and either Low or Zero VOC Paint.
Paints marked as either Low VOC or Zero VOC, are paints that contain a very low percent of any Volatile Organic Compounds. VOCs are toxic chemicals that are found in many standard paints, these chemicals vaporize at room temperature and even after the paint has dried the VOCs can still be released into the air.
A lot of people already avoid paints with high levels of VOCs because they have been linked to cause respiratory problems such as asthma, so you can understand why these paints with high VOC levels are best avoided when painting your baby’s crib and even room!
But even though lot of paints claim to have Zero VOCs included in them, the fact is this is a little misleading as paints that feature under 5 grams of VOCs in them can be labeled as Zero VOC paints.
This may sound alarming, but a lot of paint manufacturers have begun to make their Zero-VOC paints a lot less toxic to people. Many VOC paints come odorless and quick drying to ease toxin concerns.
With that information in mind, it’s best to look for Natural, non-toxic and water-based paints when painting your baby’s crib. These types of paints often contain very low levels of VOCs, if any and come with the added benefit of having less of an odor and quicker drying times that their toxic counterparts.
Here are a few brands we found for you to consider! (click the images to check them out on Amazon!)


Now that you know what paint you’ll need for the job, what about the tools?
Prep Guide
Sanding
First, you’ll need some sandpaper to prep the wood for the paint, we’d recommend 180-220 grit sandpaper as you aren’t going to be doing any rough sanding, you just want to remove any previous coats of paint or factory applied gloss.
This sanding stage allows us to create a nice smooth and clean surface to paint on! If we were to paint directly on top of a layer of gloss or old paint, it is more likely to show through and our new coat will also be more likely to chip which isn’t ideal.
When you’re done sanding be sure to clean up the dust before painting! A wet rag will be enough to clean the dust from the wood and a vacuum cleaner would of course be handy for the surrounding area.
Cleaning the wood after sanding will help us avoid painting on top of any lumps of dust we left behind, which when dried into the paint will leave behind rough lumps and bumps in the finish. These lumps and bumps could potentially be rough enough to break a baby’s skin if they were to rub an arm or leg against a particularly rough spot.
After cleaning up the wood dust, your crib is almost ready for paint! And of course, you’ll need a paint brush for this step! Any bigger paintbrush you might have lying around is fine really, as long as it’s not too old and falling apart leaving bristles all over the place!
If you need a new brush then 100% Nylon brushes are the best pick as they’re durable, will pick paint up well and create a great smooth finish!
Click here to check this nylon paint brush set on Amazon.
Priming
After sanding the next step would be to prime the wood before you start painting, but this step is only super necessary if your crib is not already painted or if you are going to completely change up the cribs color, so painting it from a really deep dark color to something lighter and pastel for example.
If you are going to be painting onto bare wood then it is recommended to prime it first as it will stop the porous wood soaking in all of your paint and will give you an overall brighter and more even finish! Similar to the paint itself, you’ll want to find a nontoxic primer to use on your crib.
Look into this nontoxic primer on Amazon and see the color palette here.
Painting
Once the Primer coat has dried, you’re now ready to paint your masterpiece!
Try and apply the paint evenly across the crib and it’s best to paint from top to bottom so gravity will help you out a little and you won’t have to worry about wet streaks running down into areas you’ve already painted.
Once you’ve painted your crib, leave it to dry and decide if it needs another coat or not.
If you aren’t sure how to tell if a second coat is needed then look it over to ensure the paint dried evenly and there aren’t any patchy bits where you can still see the base wood or primer through your coat of paint.
A Job Well Done!
Once your coat (or coats) of paint has dried, that’s the job done!
Hopefully this article has helped clear up any concerns you had about safely painting your baby’s crib and given you the confidence to go ahead with your project!
As mentioned here is our stuff4tots color palette and inspiration board to give you a creative head start!
Crib Color Palette


Please leave us a comment below if you have any questions or think we missed an important step when it comes to safely painting a crib.
Good luck and remember, don’t paint in your good overalls!
Do you want to learn more about baby sleep? Please read some of our other articles on the subject:
- How to Dress Your Baby at Night
- Creating the Best Sleep Space for a Newborn
- The Best Toddler Sleep Sacks
- How Long Should a Newborn Baby Sleep?
- Is Baby Sleeplessness Linked to Mental Health Issues?
- When to Transition from Bassinet to Crib, According to a Registered Nurse?
And for the moms out there: 7 Tried and Tested Sleep Saving Tips for New Moms.
Related Articles: